Sowing seeds is one of the most satisfying gardening activities. It’s so exciting to see those first tiny green shoots appear, knowing that you have created new plants from nothing more than a few seeds.
There is a lot to know about sowing seed, but don’t let that put you off. This guide will tell you everything you need to know, from choosing the right seed to sowing at the correct depth and thinning your seedlings.
Choosing Seed
The first step is to choose the right seed. This might seem like an obvious task, but there are a few things to consider:
What do you want to grow?
Make a list of the plants you would like to grow from seed. Once you have your list, check which ones can be easily grown from seed and which ones are better started as young plants. Some plants, such as fuchsias, geraniums, and impatiens, are tough to grow from seed, and it is much easier to buy young plants.
When do you want to sow?
Check the back of the seed packet for sowing instructions. Some seeds need to be sown at a certain time of year to germinate and grow successfully. For example, many annual flowers need to be sown in late winter or early spring, whereas biennials, such as foxgloves and hollyhocks, are best sown in late summer or autumn.
How long will it take?
Please find out how long it will take from sowing to flowering. Some plants, such as marigolds and petunias, flower quite quickly (within 8-12 weeks), whereas others, such as delphiniums and sweet peas, can take much longer (up to 6 months).
How many do you need?
Check the packet to see how many seeds there are. Some, such as sunflowers, have a very high number of seeds in each packet (usually around 50-100), whereas others, such as lobelia and impatiens, have far fewer (10-20 is not unusual). This will help you decide how many packets you need to buy.
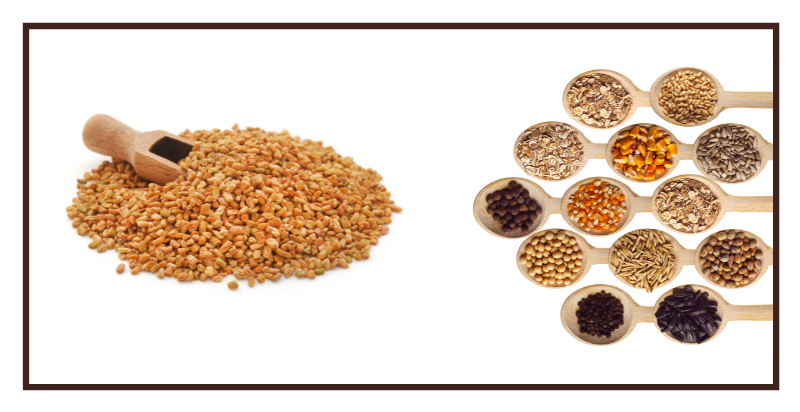
What size seed is it?
The seed comes in all shapes and sizes, from the tiny dust-like seeds of petunias to the large beans of broad beans. The seed size will determine how easy it is to sow and how deep it needs to be sown. Larger seeds are usually easier to handle but must be sown deeper.
What sort of seed is it?
Some seeds need special treatment before germinating, such as scarification (scratching the seed coat to allow water) or stratification (subjecting the seeds to cold temperatures). These seeds are usually clearly labeled on the packet.
Once you have chosen your seed, it’s time to get to the next process :
When to Sow Seeds
The best time to sow seeds depends on the plant you’re growing. Most annual flowers and vegetables should be sown directly into the ground after all danger of frost has passed. Perennials and biennials can also be sown directly into the ground, but they may not bloom the first year. For these plants, it’s best to start them indoors to get a head start on the growing season.
You’ll also need to consider the plant’s native climate when deciding when to sow seeds. Tropical plants, for example, won’t tolerate frost and should be started indoors or in a greenhouse. If you’re unsure when to sow your seeds, you can find that information on the seed packet or by doing a quick online search.
What You’ll Need
To get started, you’ll need some basic supplies. First, you’ll need something to sow your seeds in. This can be anything from recycled yogurt containers to purchased peat pots. Make sure whatever you use has drainage holes, so your seeds don’t become waterlogged and rot.
You’ll also need a seed-starting mix. This is different from potting soil, and it’s important to use the right mix to give your seeds the best chance of germinating. Seed-starting mixes are usually lighter and more finely textured than potting soils. And they often contain extra ingredients like perlite or vermiculite to improve drainage.
Of course, you’ll also need some seeds! When choosing what to grow, it’s important to read the seed packet carefully. Some seeds need special treatment before sowing, and others won’t germinate if they’re not started indoors. Pay attention to the planting depth listed on the packet as well – this will tell you how deep to sow the seeds.
Finally, you’ll need something to water your seeds with. A fine spray from a watering can, or mister is best, as you don’t want to disturb the delicate seedlings.
Prepping Your Containers
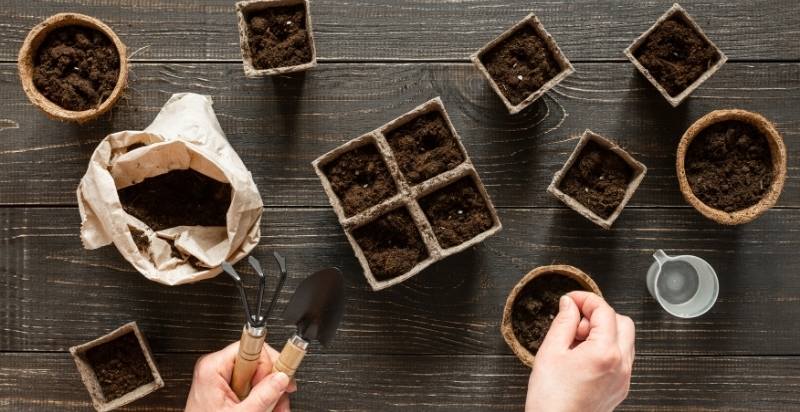
Once you have all of your supplies, it’s time to prep your containers. If you’re using recycled materials like yogurt cups or egg cartons as container, wash them out with soapy water and allow them to dry completely. You can also Sterilize them by soaking them in a solution of one bleach to nine parts water for at least five minutes. Rinse them well afterward so the bleach doesn’t damage your plants.
If you’re using purchased pots, there’s no need to sterilize them. Make sure they have drainage holes, and you’re good to go.
Once your containers are clean and dry (or rinsed, if you’re using recycled materials), it’s time to fill them with a seed-starting mix. Fill each container almost to the top, leaving just a bit of room at the top for watering. Gently tap the sides of the containers to settle the mix, and then water it thoroughly so that the mix is evenly moistened but not soggy.
How to Sow Seeds
Two main ways to sow seeds are direct sowing and starting seeds indoors. Direct sowing is the simplest method and is best for annuals and plants that don’t mind a little cold. Prepare your planting bed and sow the seeds according to the package directions.
Starting seeds indoors is a bit more work, but it’s the best way to get a head start on the growing season. It’s also a good option for growing tender plants that can’t handle frost. To start seeds indoors, you’ll need to fill seed-starting trays or pots with potting mix and then sow the seeds according to the package directions. Once the seeds have germinated, you’ll need to transplant them into larger pots or the ground.
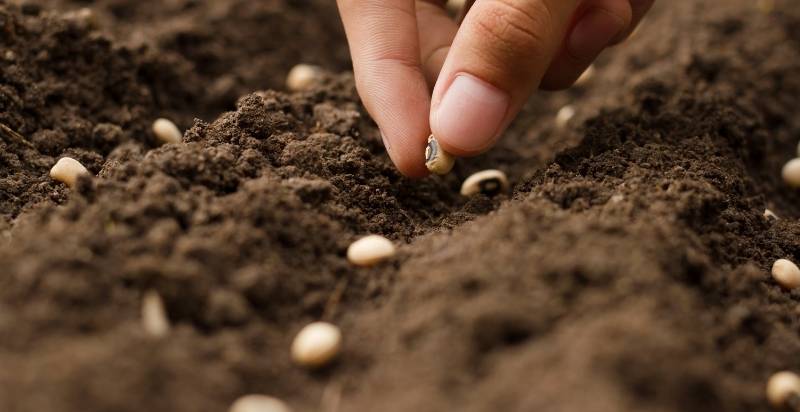
Sowing Seed
Now comes the fun part – it’s time to sow your seeds! The best way to do this is to use a dibber, a small, pointed tool that makes a perfect hole for each seed. Use a pencil or finger if you don’t have a dibber. Just make sure the holes are deep enough and spaced far enough apart so that the seeds have room to germinate and grow.
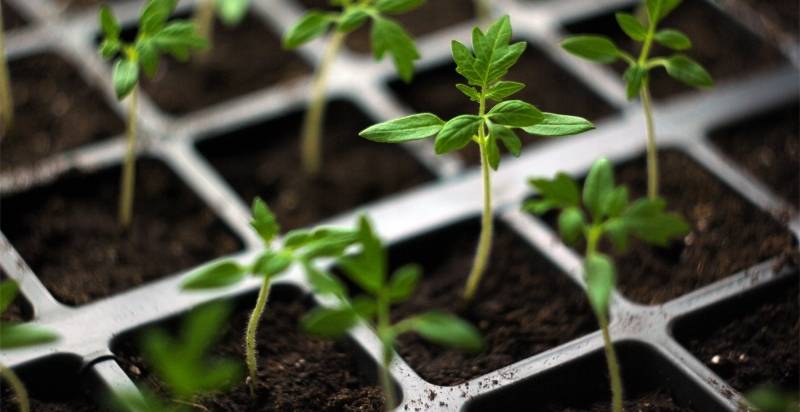
Once you’ve made your holes, it’s time to sow the seeds. For most seeds, you’ll want to sow them at the depth listed on the seed packet. If there’s no depth listed, plant the seeds twice as deep as they are wide. Gently tap the sides of the container to settle the mix around the seeds, and then water them gently with a fine spray from a watering can or mister.
Place the seeded containers in a warm, bright location, and keep an eye on them, so they don’t dry out. Once the seeds have germinated and are growing well, you can thin them out if necessary by transplanting the seedlings into larger pots or the garden.
And that’s all there is to it! With just a little care, you can successfully start your plants from seed at home.
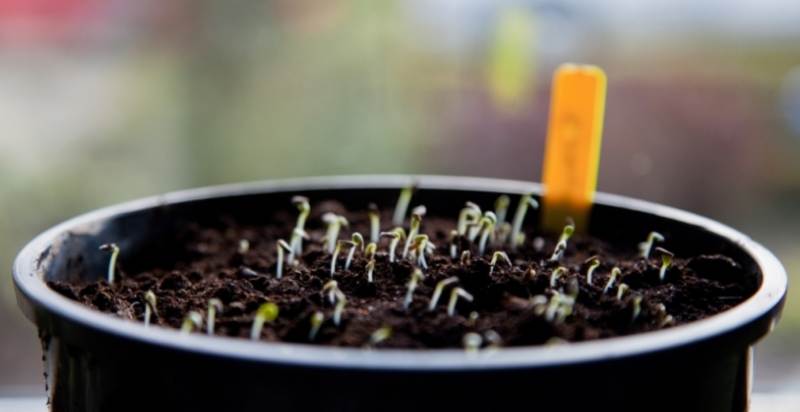
Thinning Out Seedlings
Once your seedlings have germinated, they will need to be thinned out. This means removing some seedlings so that the remaining ones have enough space to grow.
The best time to thin out seedlings is when they have their first true leaves, and these are the second set of leaves that appear after the initial pair of seed leaves (or cotyledons).
To thin out your seedlings, pull out the weakest-looking seedlings, leaving around 5-8cm (2-3in) between each one.
Don’t be tempted to leave all the seedlings in, as they will quickly become overcrowded and produce weak, leggy plants.
Pricking Out Seedlings
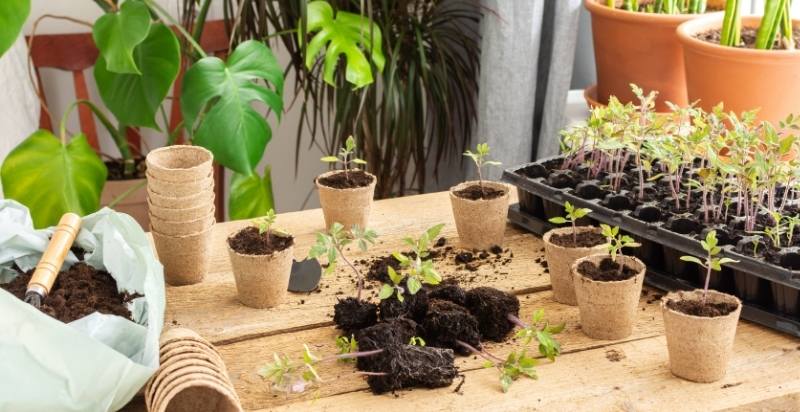
Once your seedlings have their first true leaves, they must be pricked. This means transplanting them into individual pots or cells to have enough space to grow.
Fill some small pots or cells with potting compost and make a small hole in the center of each one. Gently ease each seedling out of the tray or pot, taking care not to damage the roots. Plant the seedling in the hole so the roots are covered and lightly firm—water well.
You can either transplant your seedlings into larger pots as they grow or plant them out into the garden once they are big enough.
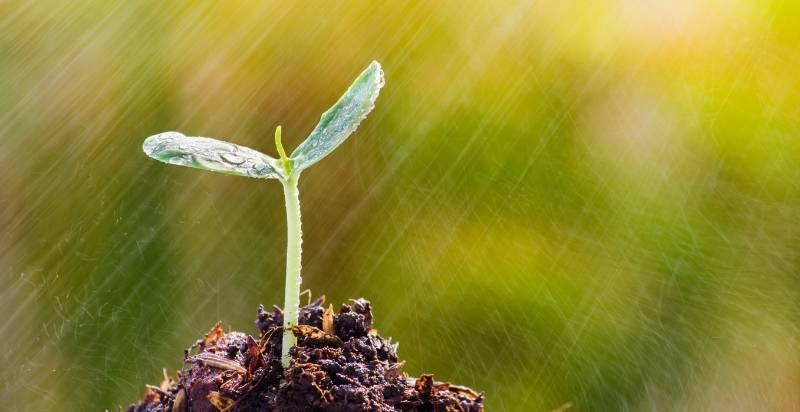
Caring for Seedlings

Once your seeds have been sown, they’ll need water, warmth, and light to germinate. The best way to provide these things is to cover the planting bed or seed-starting tray with clear plastic, creating a mini greenhouse that will trap heat and moisture.
Once the seeds have germinated, you can remove the plastic and water the seedlings as needed. If you’re growing your seedlings indoors, you’ll also need to provide them with artificial light. And fluorescent growth lights are a good option and can be found at most hardware stores.
Once your seedlings reach a height of a few inches, they can be transplanted into the ground or larger pots. Be sure to harden them off by slowly acclimating them to outdoor conditions. Start by placing them outside for a few hours each day and then gradually increase the time they spend outdoors until they can stay out all day.
Hardening Off Seedlings
If you have grown your seedlings indoors, they must be hardened off before planting them into the garden. This is because they will not be used to the harsher conditions outdoors, such as wind and rain.
To harden off your seedlings, start by placing them outside in a sheltered spot for a few hours each day. Gradually lengthen their time outside over 7-10 days until they can cope with being outside all day.
When you are ready to plant them out, do so on a cloudy day or in the evening to avoid shocking them with too much sun. Water well and continue to water regularly during dry periods.
Transplanting Seedlings into the Garden
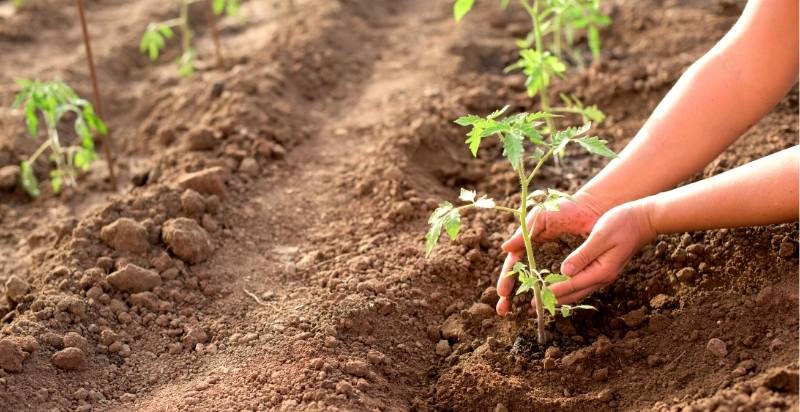
When transplanting seedlings into the garden, ensure that they are big enough and that the risk of frost has passed.
Dig a hole twice as wide as the root ball and deep enough. so the seedling is planted at the same depth it was growing in the pot or tray. Gently ease the seedling out of the pot or tray and place it in the hole. Fill in around the roots with soil and water well.
Continue to water regularly during dry periods and check for pests and diseases.
Conclusion
Sowing seeds is a great way to fill your garden with plants without spending much money. And it’s also a great way to get precisely the varieties you want. Although starting seeds is easy, there are a few things you need to know to be successful. In this guide, we’ve covered Everything you need to know about sowing seeds, including when and how to do it, what supplies you’ll need, and how to care for your seedlings.
With a little time and patience, you can grow your plants from scratch and enjoy the satisfaction that comes with them.
Happy gardening!
- Apricot Blossoms: Description, Flavor, Benefits, And Uses - April 23, 2024
- Everything you wanted to know about Green Tiger Tomatoes. - April 1, 2024
- Everything you wanted to know about Atomic Grape Tomatoes . - April 1, 2024