Here’s our quick guide on how to start vegetable gardening for beginners. Whether you’re new to growing your own food or you’re already harvesting more food than you can eat, this guide will help you grow the biggest, tastiest and most nutritious vegetables you can eat.
If you’ve never had the pleasure of plucking a juicy red beefsteak tomato from the vine and feeling it pop it’s warm sweet juices in your mouth then get ready – you’re about to! There’s absolutely nothing like growing your own food and you’re about to learn how.
You’ll learn everything you need to know to build your new vegetable garden from the ground up, starting with how to pick the perfect site all the way to harvesting your first crop.
Start Vegetable Gardening Small
When you’re first getting started it’s easy to get carried away with all the food you’re going to grow and everything you’ll build and plant. But all too often beginner vegetable gardeners get overwhelmed and exhausted – giving up long before harvesting their first crop.
For your first crop I recommend starting with these 17 easy to grow veggies.
Even if this is your 5th vegetable garden – start small. Gardens are grown over time. Don’t expect (or try) to grow a big patch right away. Even if you’re successful, you’ll have barrows of produce all at once, and then nothing a few days later.
Start small, and grow your garden day by day, month by month.Click To Tweet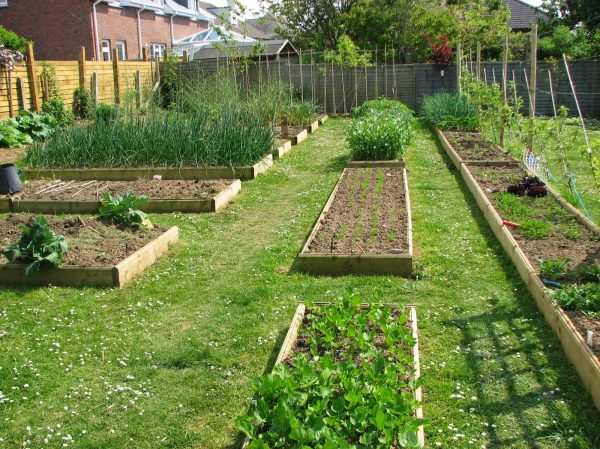
Finding The Perfect Site For Your New Vegetable Plot
The biggest contributor to a successful vegetable garden is planting it in the right location. Vegetables need plenty of sunshine, water, nutrients and a lot of love and attention.
Vegetables Need Plenty of Sunshine
First find somewhere with plenty of sun – at least 6 hours of direct sunlight a day. Consider where the sun will be during the winter and the summer too. Is there a big tree to the south (or north in the southern hemisphere) that will block the winter rays?
The more sunlight your garden receives the faster your plants will grow, the better they’ll taste and the more nutrients they’ll store. Sunshine is the mother of all life.
Garden Tip: if you don’t have anywhere that gets at least 6 hours of sunshine daily, then you can still have a vegetable garden. You won’t be able to sun ripen tomatoes or grow lots of corn – but you can still grow Green Ice Leaf Lettuce, Alaska Peas and many cool season crops.
Access To Fresh Water
Once you’ve found a site with plenty of sun, check to see if there is water nearby. If there isn’t can you install a new pipeline and irrigation system to water your crops. Watering by hand takes time (a lot of it) so install an automated watering system wherever possible.
You should also consider the quality of the water you’ll be using. Is it drinkable or does it leave a foil taste in your mouth? Perhaps it’s a little salty, acidic or alkaline. Town water often has chemicals such as fluoride and chlorine to kill bacteria and stop diseases from spreading.
If you are in doubt, test your water using an home water test kit. It might not seem like a lot now but if you’re watering the same garden everyday excess salts, high (or low) pH and certain nutrients can stunt or even kill your plants.
Rule of thumb: If the water is drinkable (and doesn’t have any strange taste) then it will be fine for your garden.
Vegetable Gardening For Beginners – Give Your Garden Lots Of Love!
Planting a garden is one thing. Actually growing a garden that rewards you with a bounty of fresh food is another story. Vegetable gardens, more than any other garden plants, need a lot of attention and care to flourish.
Crops left to their own nature will grow small and tasteless food. Vegetables are prone to dozens of diseases and their tasty leaves are easy targets for pests. You will need to keep a watchful eye on every plant under your care.
Which is why your vegetable garden needs to be close to your home. If you hide it behind a garden shed or at the back of the yard, it will be easily forgotten and unproductive.
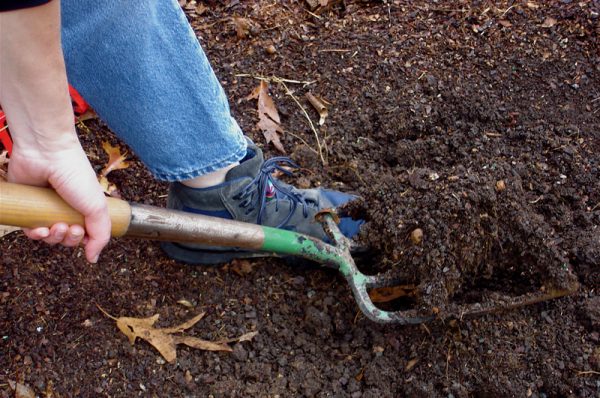
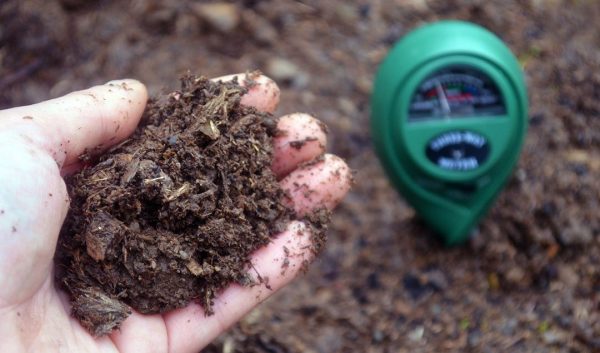
Everything Comes From The Dirt
Everything that grows above ground comes from the nutrients hidden in the dirt. Vegetable gardens need plenty of nutrients in the soil and they are very particular about growing in the right kind of soil.
Vegetables need a light, fluffy loam to grow in. Heavy clay soils are too hard for their thin little roots to penetrate. Soils that are too sandy don’t hold onto enough nutrients and leave your crops leggy and tasteless.
A soil with just the right amount of sand, clay and silt will reward you with plants that thrive. You’ll have big tasty harvests and fast-growing crops that ward off pests and diseases easily.
That’s why we’re so obsessed with dirt. Having good soil (and managing it) is the key to growing a successful and productive garden.
One essential for a healthy garden is good compost or well-rotted manure. It will enrich the soil, improving its structure, water-holding capacity, and nutrient availability. Gardeners can ensure healthy plant growth and long-term success by nurturing the soil.
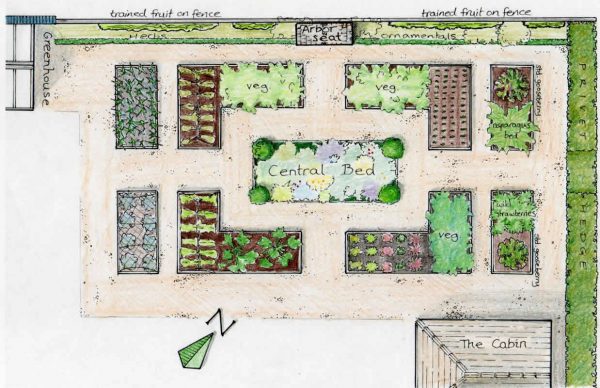
The Perfect Vegetable Garden Size
Beginner vegetable gardeners should start with a plot that’s no bigger than 16×10 feet (5×3 meters). If this is going to be your first veggie patch then it’s important to focus on crops that are easy to grow and that you can harvest quickly.
There are many crops that you can plant, grow and bring to your dinner table in less than a month. Vegetables like radish, lettuce, herbs and salad greens grow quickly and reward your early gardening efforts.
A plot this size will feed a family of 4 all summer long, even leaving you with enough to freeze or can for the winter months.
If you don’t have that much space then you can still grow some vegetables in containers.
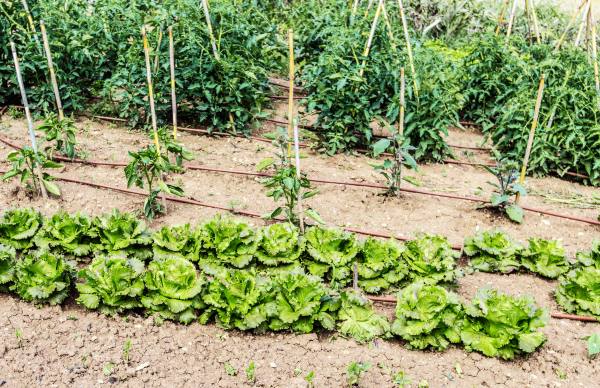
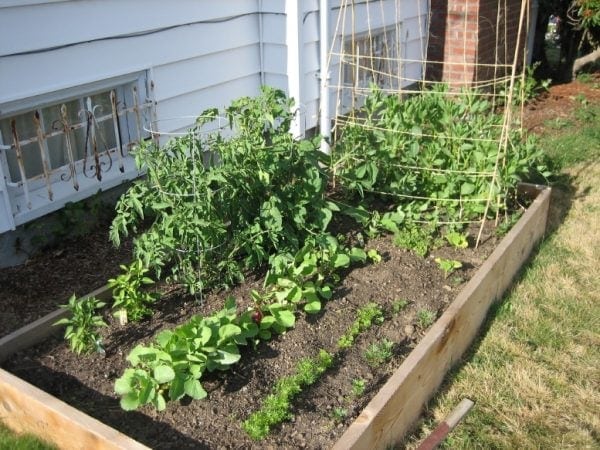
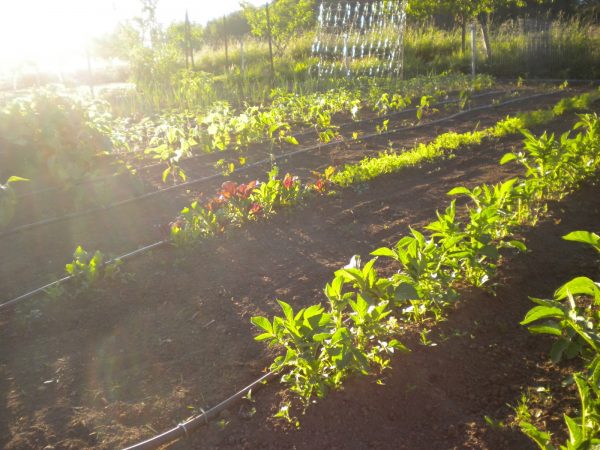
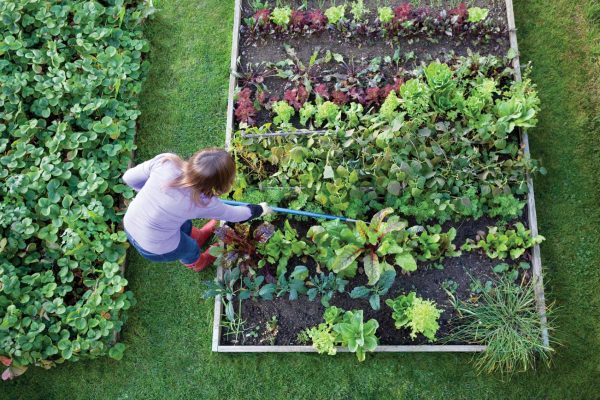
Row Cropping
This is the easiest and most popular method of growing vegetables. It works best when you have a big veggie patch but it doesn’t look as neat as the raised bed method. If you’re tight on space then use the intensive growing method below.
A beginner vegetable garden should be 11 rows wide, with each row ten feet long. Run your rows north to south to take full advantage of the sun. Be sure to leave at least 18 inches between rows so you have plenty of space to walk, kneel and tend your plants.
For more about planning and positioning your vegetable garden read this article.
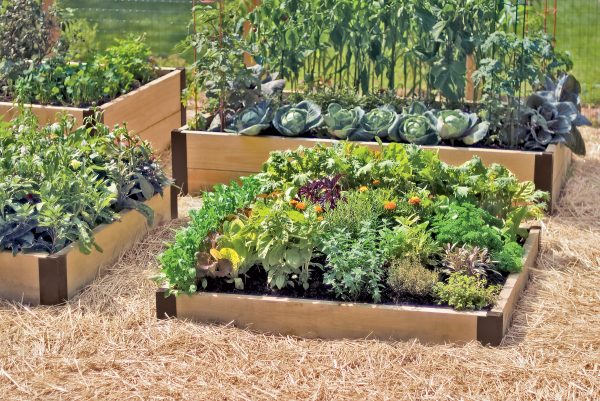
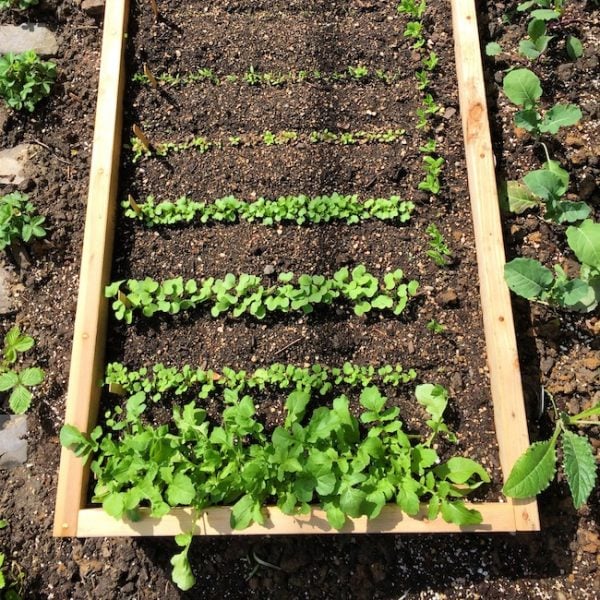
Raised Bed Vegetable Gardening
Also known as the intensive growing method. This technique is popular among backyard and inner city gardeners because it makes the best use of small spaces.
Raising your beds 6 inches to several feet above the ground makes them easier to tend and provides structure to your patch. Having larger beds reduces the area needed for paths so you’ll grow more food in a smaller space.
Raised beds are usually 2-4 feet wide with plants planted more densely in the beds. Popular spacing methods such as square foot gardening (see book here) provide beginner vegetable growers with a stencil like pattern to space their crops and get the most food out of a small area.
Testing and Fixing Your Soil
Chances are that your new vegetable garden does not have the perfect soil – far from it! Even if you bought in a specialized vegetable soil from a landscape yard chances are it will still need improving.
Easiest Way To Test Your Soil
Luckily there is a very simple test that every garden can do to test their soil and identify (very easily) how to fix it. You won’t need any special equipment or fancy formulas either, this is done purely by sight and feel – two things that every great gardener uses daily.
- Collect half a cup of soil from 3-4 parts of your vegetable garden. This will give you a sampling of the whole garden and not just one area.
- Put the soil into a bucket and add just enough water to form a wet paste.
- Mix the soil around with your hands (I never said this wouldn’t get dirty!)
- Take a fistful of soil out of the bucket and squeeze it as hard as you can
- Open your hand and examine the soil
If your soil easily falls apart and crumbles then your soil is too sandy. You will need to add more clay and organic matter to improve it.
If your soil holds tightly together in a ball and when you try to separate it, the soil breaks away in big clumps – then you have too much clay in your soil. You will need to add sand, good quality compost and organic matter.
If the ball breaks easily into clumps and crumbs then you’ve got great soil (gardeners call it loam soil)! You will need to take care of it by feeding it with organic matter regularly.
Checking For Drainage
There is one other thing you need to consider – drainage. Even if your soil is loamy and perfect it can suffer from poor drainage if it is heavily compacted. Some sandy soils can become hydrophobic and actually repel water (Australian soils).
To test this dump a bucket of water on your soil and observe.
If the water sits on top of the soil and takes a long time to soak into it or just runs off of the soil leaving it mostly dry – then you have water repellent soil. You need keep it covered with a thick layer of mulch so it stays moist all day and add more clay if your soil needs it (use the squeeze test above).
If the water is absorbed by the soil within a few minutes then come back and check it the next day. Take a fistful and squeeze the soil.
If lots of water runs out you have a heavy clay soil. You will be best to use raised beds for your crops.
If only a little water runs out then you have a loamy soil with good drainage. Keep the soil protected with a thick layer of organic matter or seed free straw mulch.
What To Grow In Your First Veggie Patch
With any vegetable garden it’s important to always plant what you’re going to eat. If you haven’t eaten something before (winged peas for example) then don’t grow them in your garden – at least not yet.
If you’re on a budget you can grow plants you’re already eating by simply saving and planting the seeds from your kitchen scraps. With some plants like potatoes and onions you can even just plant the scraps and they’ll start to grow!
- Sugar Sweetie cherry tomatoes – these are much easier to grow then their big brothers which get all kinds of diseases and often need special care to ripen fully
- Golden zucchini squash – the bright gold flesh makes it easy to find and harvest which is helpful because you’ll be harvesting a lot of them!
- Blauhilde climbing beans – grow quickly, are super productive and rarely have any diseases. The purple pods make them easy to pick too!
- Salad greens – lettuce and other greens are very quick growers and easy to care for
- Assorted herbs – plant them once and harvest for years to come. They’ll help deter pests and add flavor to your cooking
- Potatoes – plant one tuber and you’ll harvest 20 a truly magically crop to grow. They require almost no maintenance too!
- Radishes – one of the fastest growing vegetables. Sow seeds on the 1st and you’ll harvest by the 31st
Never Plant All Your Garden Beds At Once
When you first establish your garden it’s tempting to want to fill every garden bed with seeds and seedlings. But when you plant everything on one day all of your crops will be ready to harvest at the same time!
No matter how much you love cabbage, everyone gets tired of eating it for every meal when it’s all you’ve eaten for 4 weeks. For each vegetable that you want to grow, plant out ¼ of the garden bed each month. By doing this you’ll ensure a steady harvest over the entire growing season.
When To Plant Your Crops
Certain vegetables dislike the cold, whilst others thrive in it. Some plants hate the heat of summer and will bolt (go to seed) when the weather gets too hot. Knowing when to plant your crops is just as important as knowing when to harvest them.
Check the back of seed packets and seedling labels before you buy them. You can also use this planting calendar which will help you plan out when you need to plant and harvest your crops.
If you’re new to gardening, greenhouse gardening is a fantastic option to consider. It’s a brilliant way to grow a variety of plants while protecting them from extreme weather. For beginners, it’s crucial to learn how to manage the inside of the greenhouse, especially the temperature and light, to make sure your plants do well. For a deeper understanding of greenhouse gardening, be sure to read our detailed article on the topic.


- Everything you wanted to know about Green Tiger Tomatoes. - April 1, 2024
- Everything you wanted to know about Atomic Grape Tomatoes . - April 1, 2024
- Plum Types and Varieties: A Comprehensive Overview | GardenersMag . - April 1, 2024
Thanks for your step by step instructions. Recently my family moved into a new place and we have enough space to make a garden. An ordinary flower garden is a time waste and hassle also. So my family decided to make a vegetable garden. In that case, your post will help us too much.
Nice post ! If you plant veggies in your own backyard . You will feel more happy while eating them.
I have learnt so many new things with this blog . I was aware about how to maintain flower garden . But vegetable garden is really needful and interesting topic.